From one screenshot to a launch video
A focused way to turn one product screen into a short launch video: choose the camera move, shape the easing, build the sequence, and export for its destination.
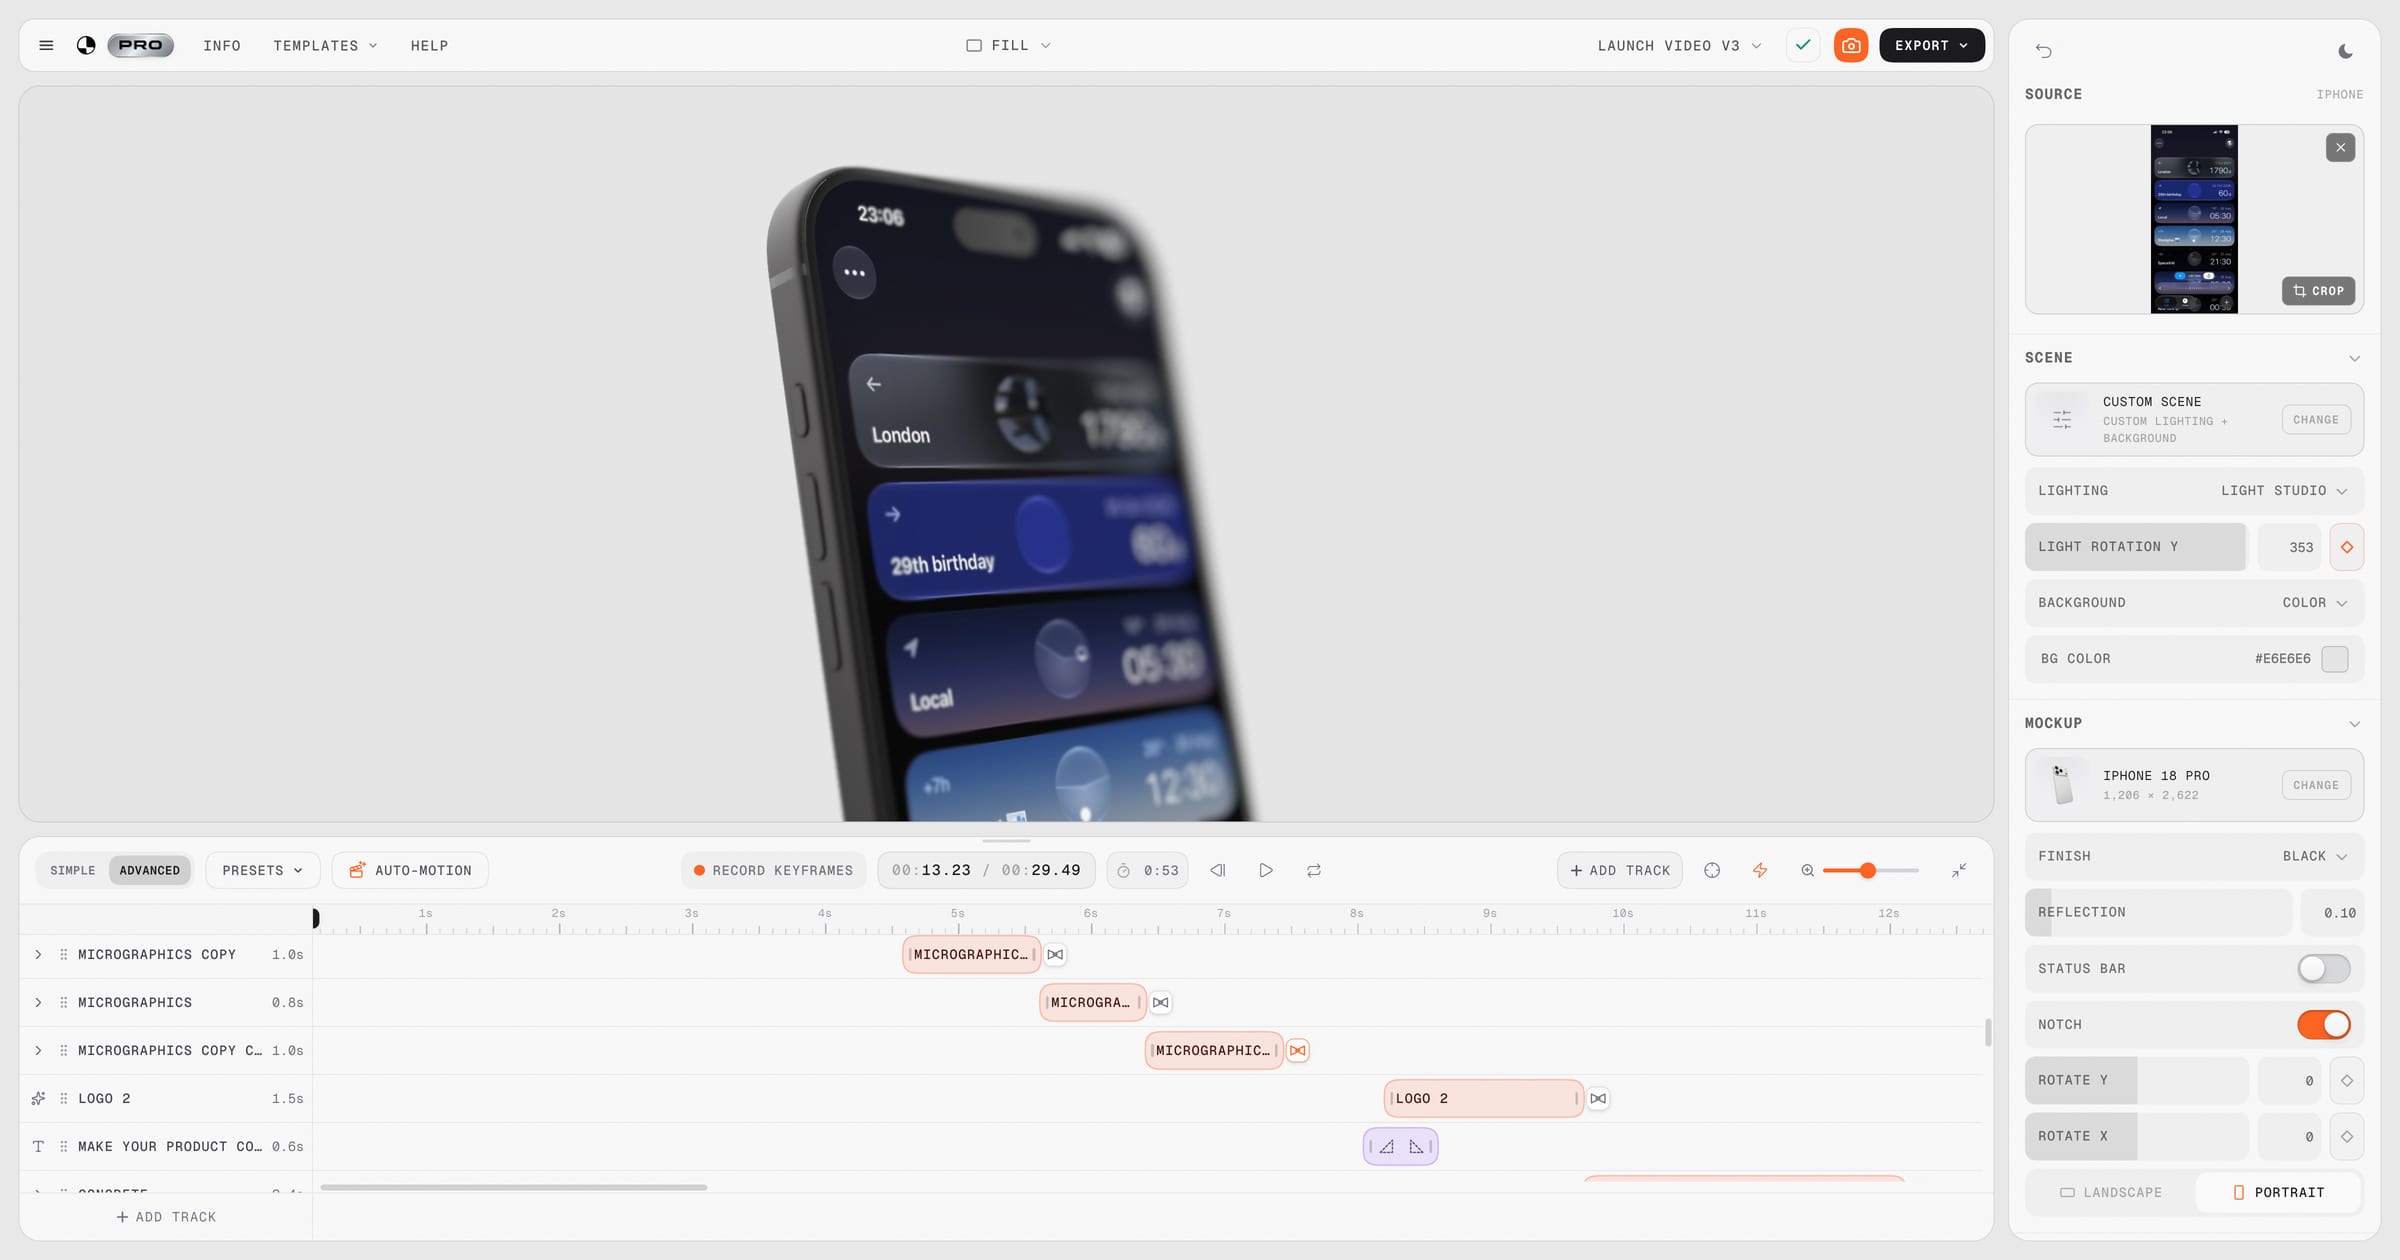
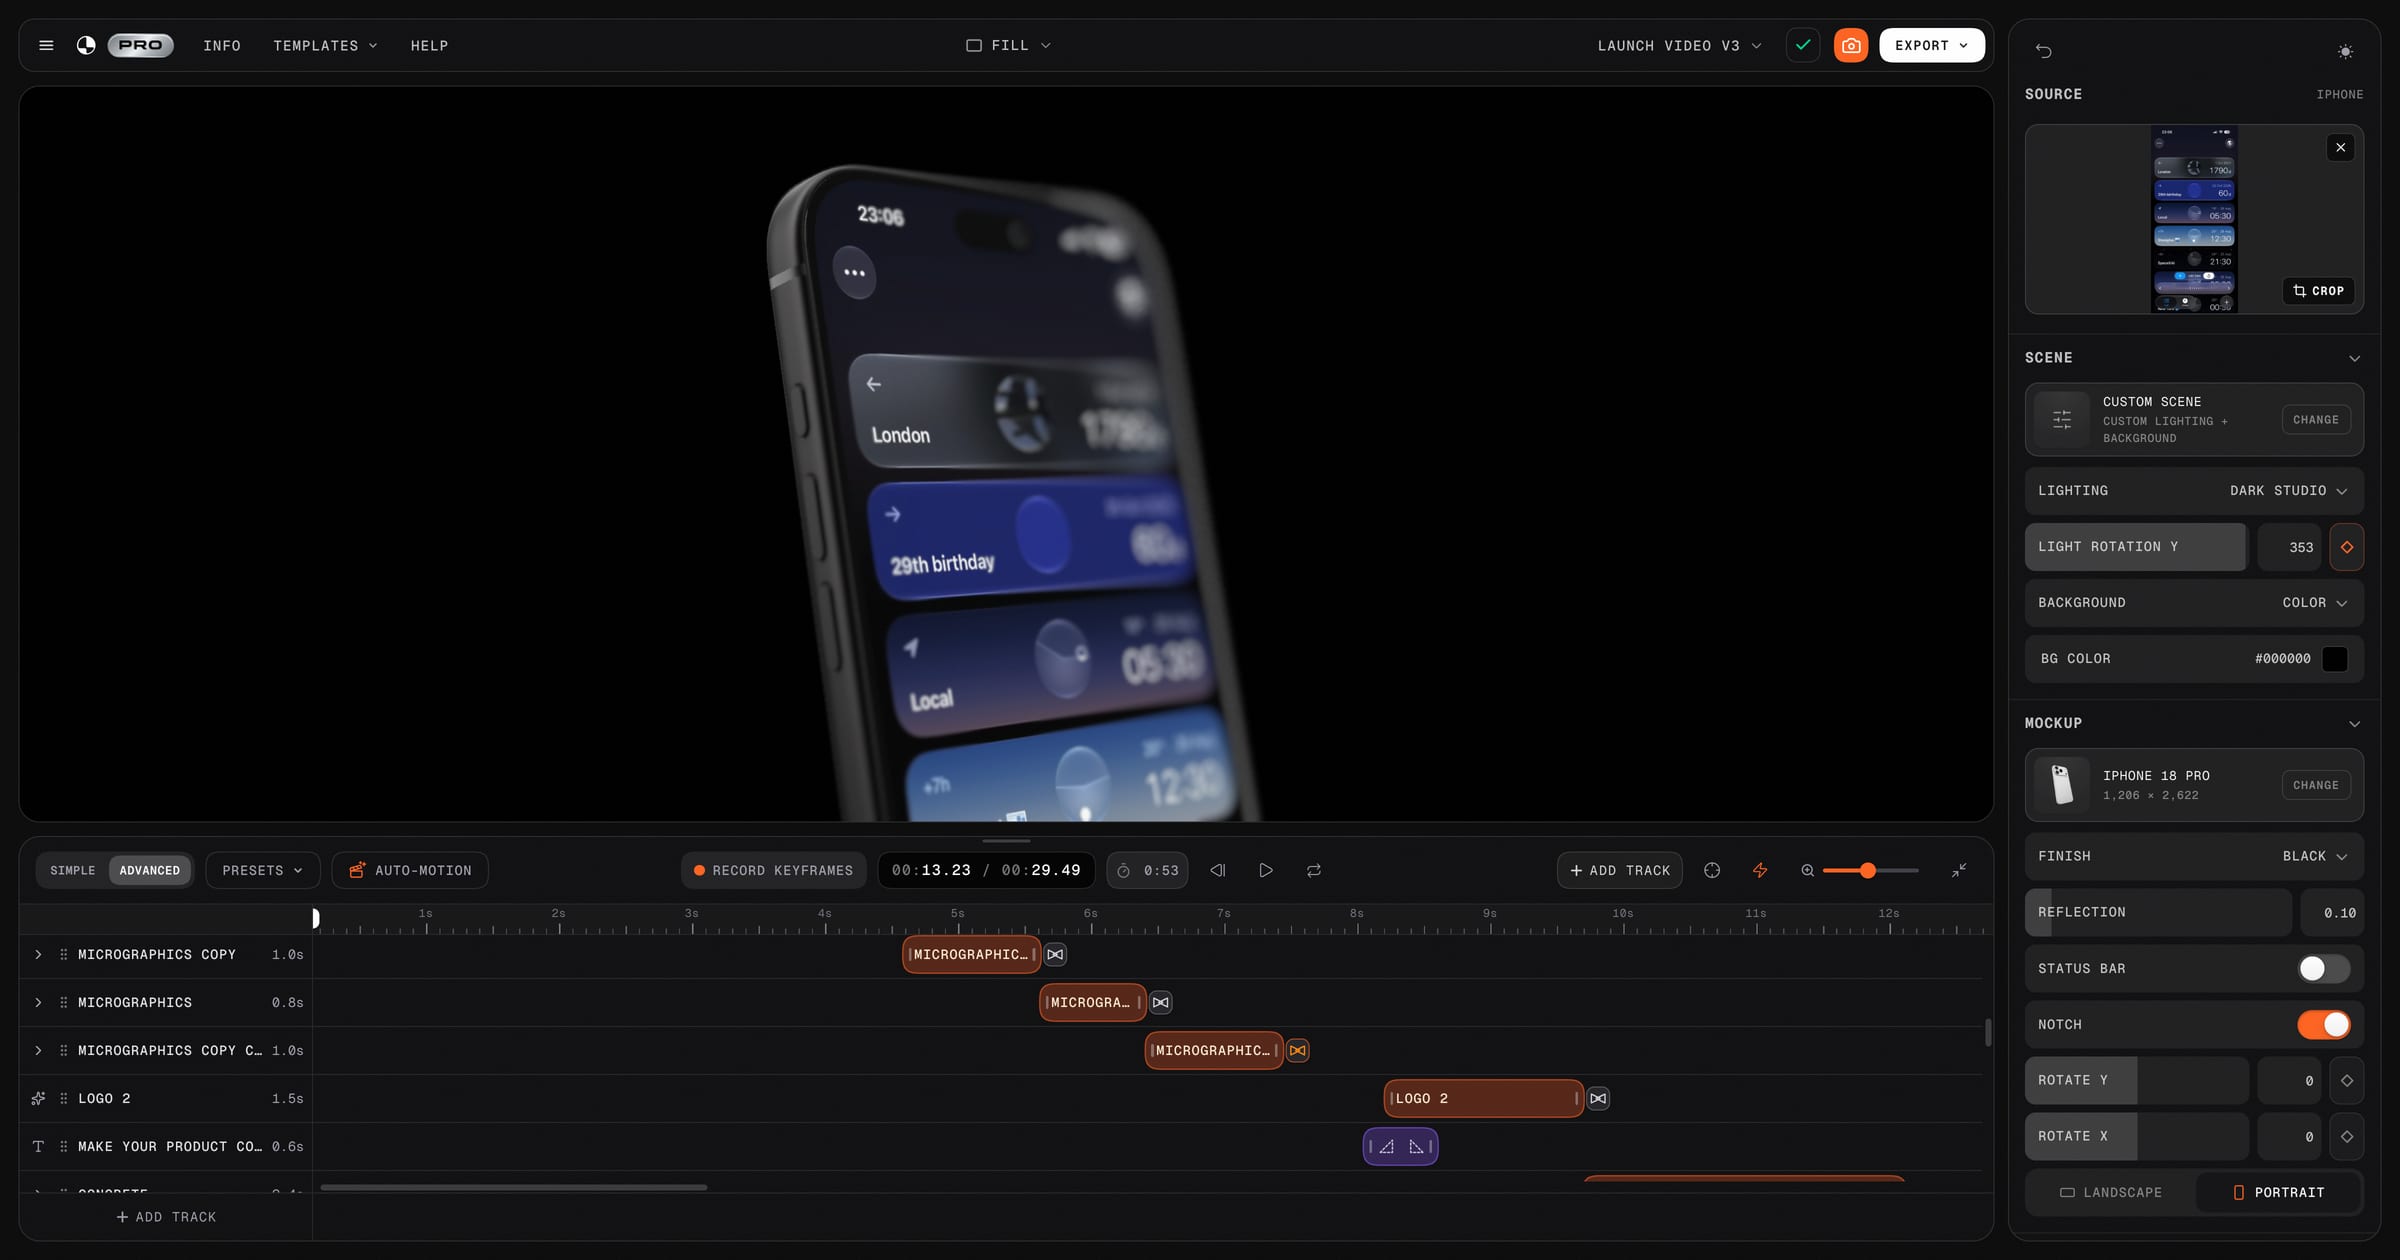
Short answer: You can turn a single screenshot into a focused product video by placing the screen on a device and adding one controlled camera move: a gentle push towards the screen, a pull back, or a small rotation. Shape the easing so the move begins and settles deliberately, add a headline only if it clarifies the message, and export in the format the final placement needs.
A still image can establish a product in one frame. A short video can reveal an angle, guide the eye towards part of the interface, or turn several screens into a paced sequence. Motion is useful when it adds that information, not simply because the frame is moving.
The simplest version does not need an elaborate production. Start with one clear screen, make one considered camera decision, and build from there only when the product story needs more.
Why a short video is worth it
Use video when the movement itself helps explain the product. A camera push can direct attention to a key detail. A reveal can establish the whole device after opening on the interface. A sequence can connect several screens in an order that a single image cannot.
The sequence only needs to be long enough to communicate one idea clearly. Extra movement, captions and scenes should earn their place by adding useful information.
One screen is enough to begin
You don't need a storyboard or a folder of assets. Take the single most important screen in your product, place it on a device, and you already have everything you need.
The sense of motion doesn't come from having lots of screens. It comes from the camera moving around the one you've got. This is the key mental shift: you're not animating the interface, you're filming a still object with a moving camera, the way a car advert lingers on a parked car.
Let one camera move do the work
A focused route to a good first clip is a single, confident camera move. A few useful options:
- A slow push in: drifting toward the screen, drawing the eye into the interface.
- A gentle pull back: starting close on a detail, revealing the whole device.
- A soft rotation: turning the device slightly to show its form and catch the light.
- A low rise: the camera lifting from below, which makes the device feel substantial.
Pick one. The instinct is to add more movement and more changes at once, but a single move is easier to read. If the camera, device, text and light all compete for attention, the interface stops being the subject.
The secret is in the easing
The character of the move comes largely from its easing: how it accelerates, travels and settles.
A constant-speed move feels graphic and mechanical. A move that accelerates and settles softly feels calmer and more deliberate. Neither is universally correct, but the softer option is a useful default for a restrained product reveal.
Here's the difference in plain terms:
| Easing style | How it feels | Use it for |
|---|---|---|
| Linear (constant speed) | Graphic, mechanical | Deliberately technical movement |
| Ease in and out | Smooth, balanced | A useful general starting point |
| A long, soft ease-out | Calm, gliding | Reveals and final landings |
You do not need to start with the maths. Compare the movement at full speed, then adjust the curve until the beginning and ending support the tone of the product.
Build a short sequence when you want more
For a fuller launch video, use several scenes or build several shot segments inside one scene. A scene is one timeline clip; a shot is a keyframed camera segment within it. This three-part structure is a useful starting point:
- Open with the device easing into frame.
- Focus with a slow move toward the key part of the screen.
- Land by pulling back to the whole product, with your name or logo in view.
There is no universal ideal duration. Stop when the sequence has communicated its one idea. Use a new scene when the screen or overall composition changes; use another shot segment when the camera needs a distinct move within the same scene.
Add a line of text if it helps
A single headline, appearing over the device and easing away again, can anchor the whole clip. As with everything else here, less is more. One clear line does more than a paragraph fighting the motion for attention.
The same restraint applies to a logo. A simple, animated logo at the end gives the clip a clean finish without turning it into a title sequence.
Export for where it's going
Different placements need different shapes. A quick reference:
- Tall (9:16) for stories and reels.
- Square (1:1) for the feed and a safe universal option.
- Wide (16:9) for a website hero or a video platform.
The same project can be reframed for more than one placement, but review the composition at every ratio rather than assuming a crop will work. In Ultramock, Free video exports are watermarked, 1280 × 720 landscape at up to 30 fps, and share a limit of three exports in a rolling 24-hour period. Portrait, square, higher-resolution, 60 fps and watermark-free video options require Pro, with a maximum video edge of 3840 px.
An illustrative ten-second plan
To make the structure concrete, here is an illustrative ten-second plan built around a fictional product screen. Treat the timings as a sketch to adapt, not a performance benchmark or universal template.
Seconds 0 to 3: the open. The device eases into frame from slightly below, screen already lit, with a long soft ease-out so it glides to a gentle stop. This is your establishing shot: the viewer sees the whole product and settles in.
Seconds 3 to 7: the focus. A slow push toward the most important part of the screen, again gently eased. Around second four, a short headline fades in beside the device, "Everything in one place," and fades out before the push finishes. The motion and the words reinforce each other without competing.
Seconds 7 to 10: the land. A soft pull back to reveal the full device again, with your logo fading in at the end. The clip finishes calm and resolved, on the product and the name.
The idea is simple: one screen, three clear beats, and no moment where several elements fight for attention. The sequence feels deliberate because every move has a specific job.
If you want a longer video, add another shot in the middle (a second feature, shown the same way) and keep the open and the land as your bookends. The structure scales without ever getting busy.
Frequently asked questions
Do I need video editing software or motion design skills? The basic approach uses camera controls, keyframes and easing rather than a large compositing setup. More complex editing, effects or footage treatment may still be better handled in a broader video or motion-design tool.
How long should a product launch video be? There is no single correct length. Make it long enough to establish the product and communicate one idea, then remove any beat that repeats information without adding something new.
Can I make both a still image and a video from the same setup? Yes. Building both from the same setup can keep the device, background and lighting consistent. Check each export independently, since a composition that reads clearly in a still may need different timing or framing in motion. See device mockups for the still side of this.
What if I want a more complex, multi-scene video? Add scenes one at a time when the screen or composition changes. Within each scene, use shot segments to shape the camera move around the same presentation.
Which screen should I feature? Start with the screen that shows the product's core value most clearly. It may be the same screen that leads an App Store listing, but check that it remains legible once the camera begins to move. Our post on App Store screenshots can help you identify that screen.
Putting it together
One screen, one confident move and one well-shaped ease are enough to establish the idea. Add more only when the product story needs another screen or beat.
Ultramock can turn the same screen and device setup into still images and short product videos, with camera keyframes, easing, text and multi-scene timelines in the browser. Start with the core editor for free, then use Pro when the deliverable needs portrait or square video, higher resolution, 60 fps or watermark-free export.
Make your product look premium
Your work deserves more than just a screenshot. No download, no account required. Check it out now.
Open editor