Product Hunt gallery images: sizes, order and what to show
The Product Hunt gallery size (1270 x 760), how many images to upload, the 240 x 240 logo, and how to plan a gallery that shows your product working, with a real example set.
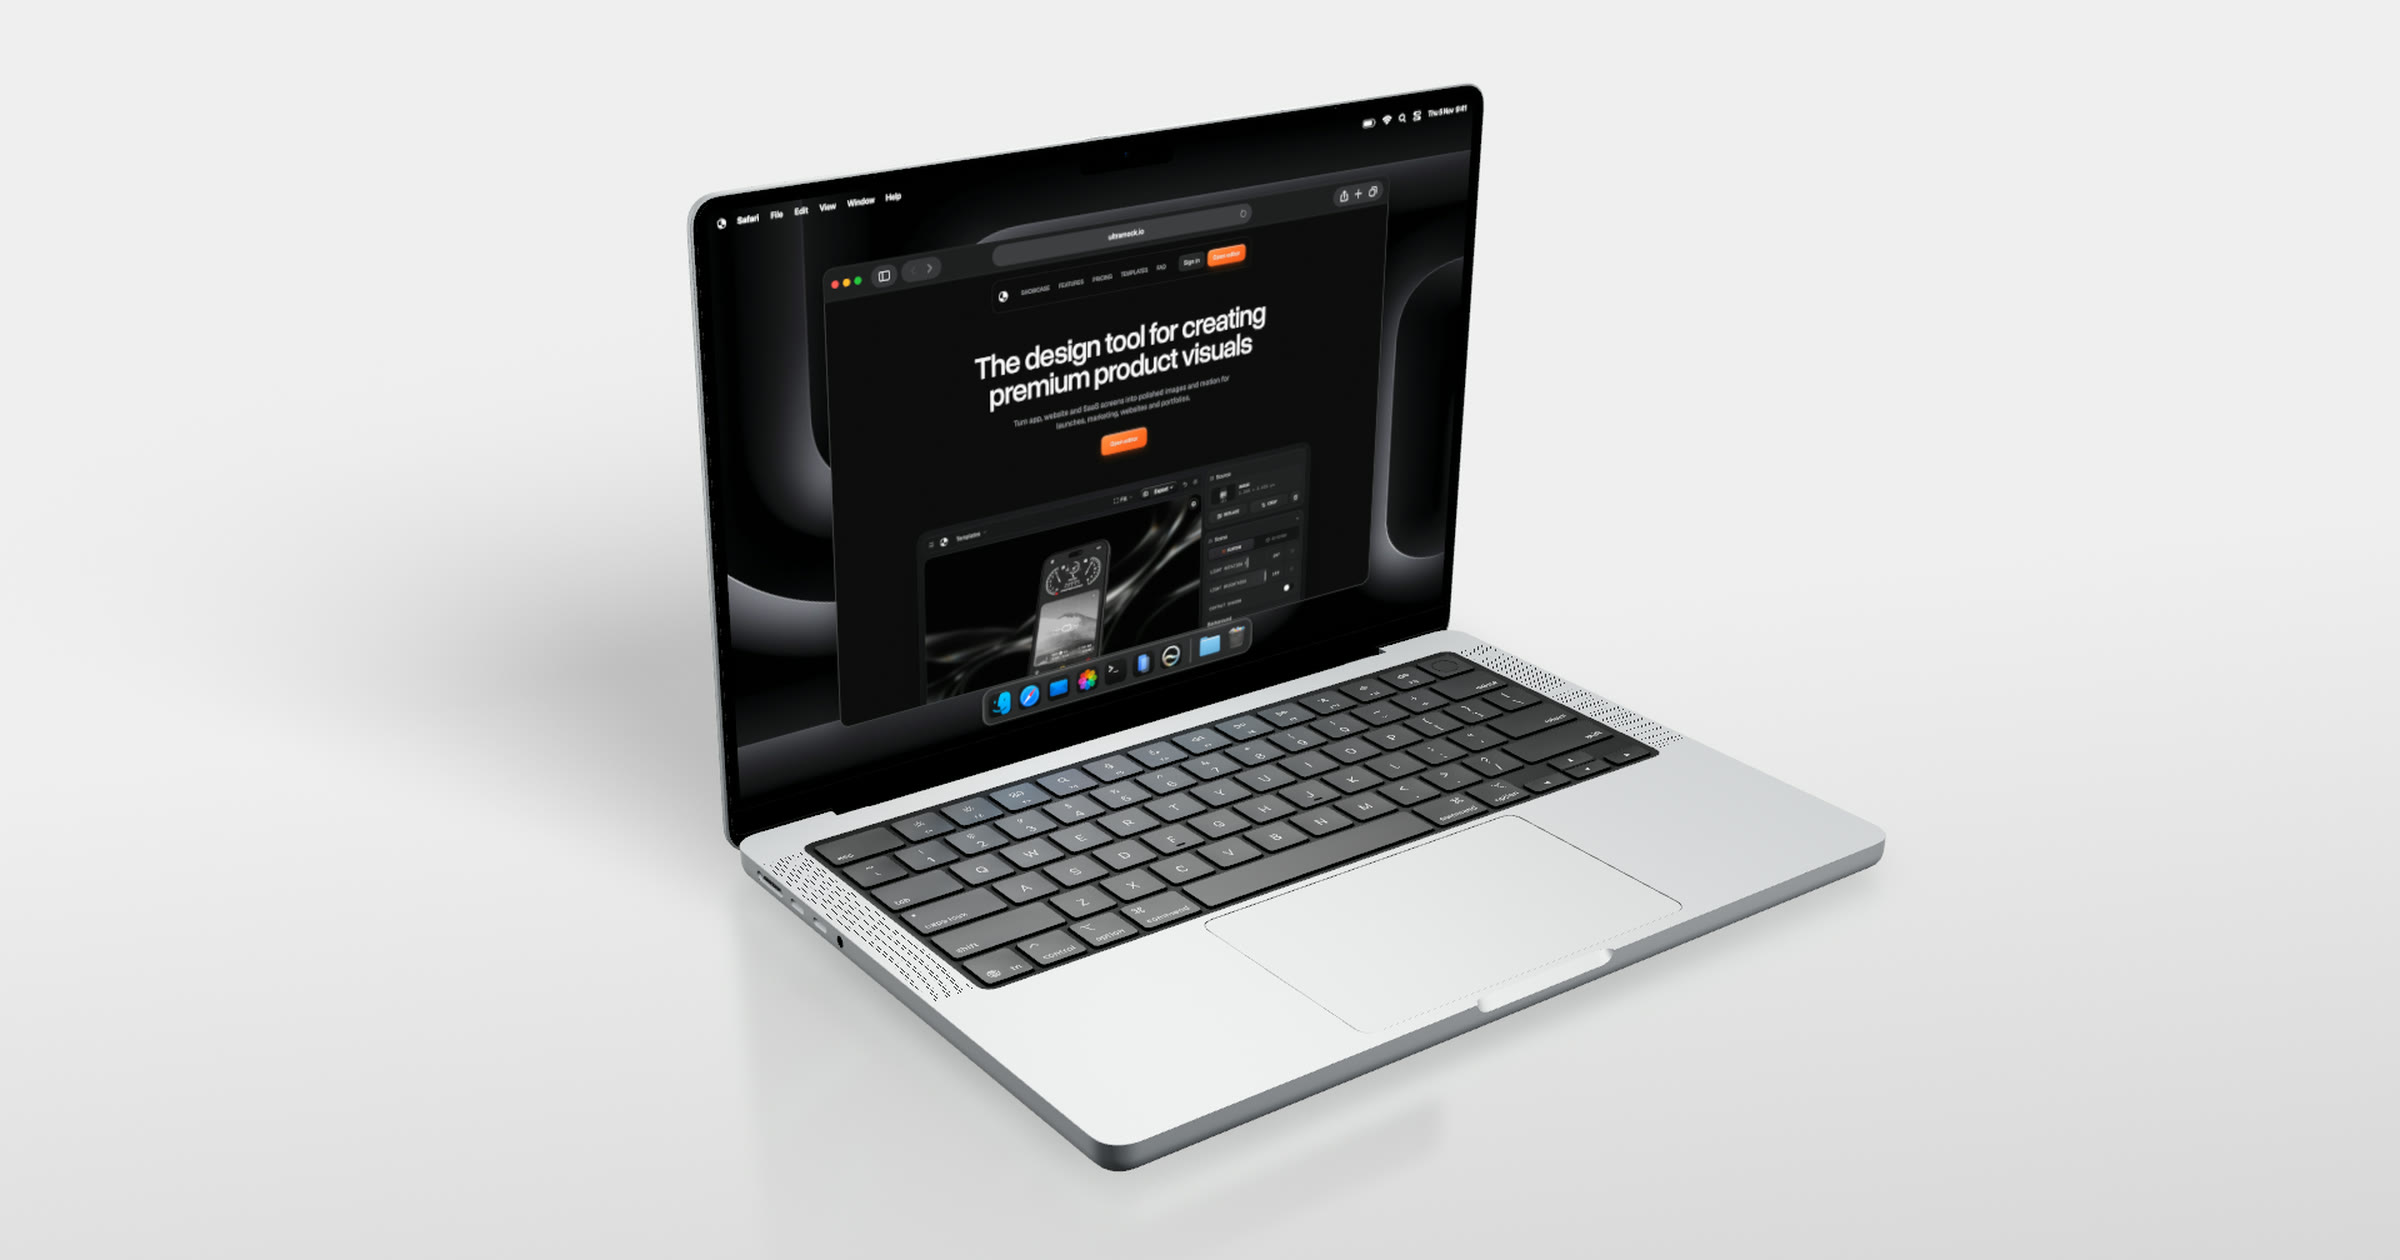
Short answer: Upload gallery images at 1270 x 760 pixels (about 5:3). Product Hunt needs at least one and its launch checklist suggests three or more. Lead with the product working, not your logo, and keep the set to one look so it reads as a single story. The square logo is separate: 240 x 240, JPG, PNG or GIF, up to 2 MB.
The sizes, from Product Hunt
These come from Product Hunt's own help centre article on building your product page, checked on 5 November 2026:
| Asset | Size | Notes |
|---|---|---|
| Gallery images | 1270 x 760 recommended | At least 1 required; the checklist suggests 3 or more. No maximum is stated. |
| Logo | 240 x 240 | JPG, PNG or GIF, up to 2 MB. GIFs only animate on hover, so the first frame has to work on its own. |
| Video | Added by link | Optional. The older launch guide says YouTube links only, and not set to private. |
Animated GIFs work in the gallery too. Like the logo, they play on hover, so the first frame should still explain something.
What to put in the gallery
Product Hunt's own advice is to "show the product in use, not just your logo": screenshots of the core flow, a before and after, or a short GIF of the key moment. In practice that means:
- Open on the product working. The first image is the one people see in the feed and the post header. Show the main screen of your product doing its job.
- One idea per image. The second and third images each show one more thing: a second device, a key feature, the result someone gets.
- Show it where people will use it. A web app on a laptop, a mobile app on a phone. It answers "what is this, and where would I use it?" before anyone reads a word.
- One look across the set. The same background, light and type in every image makes the gallery read as one launch, not a folder of screenshots.
An example set
These are the three images we would upload for Ultramock itself, each made in Ultramock from our own site and editor and exported at 1270 x 760. Each shows a different device at a different angle, on the same studio floor:
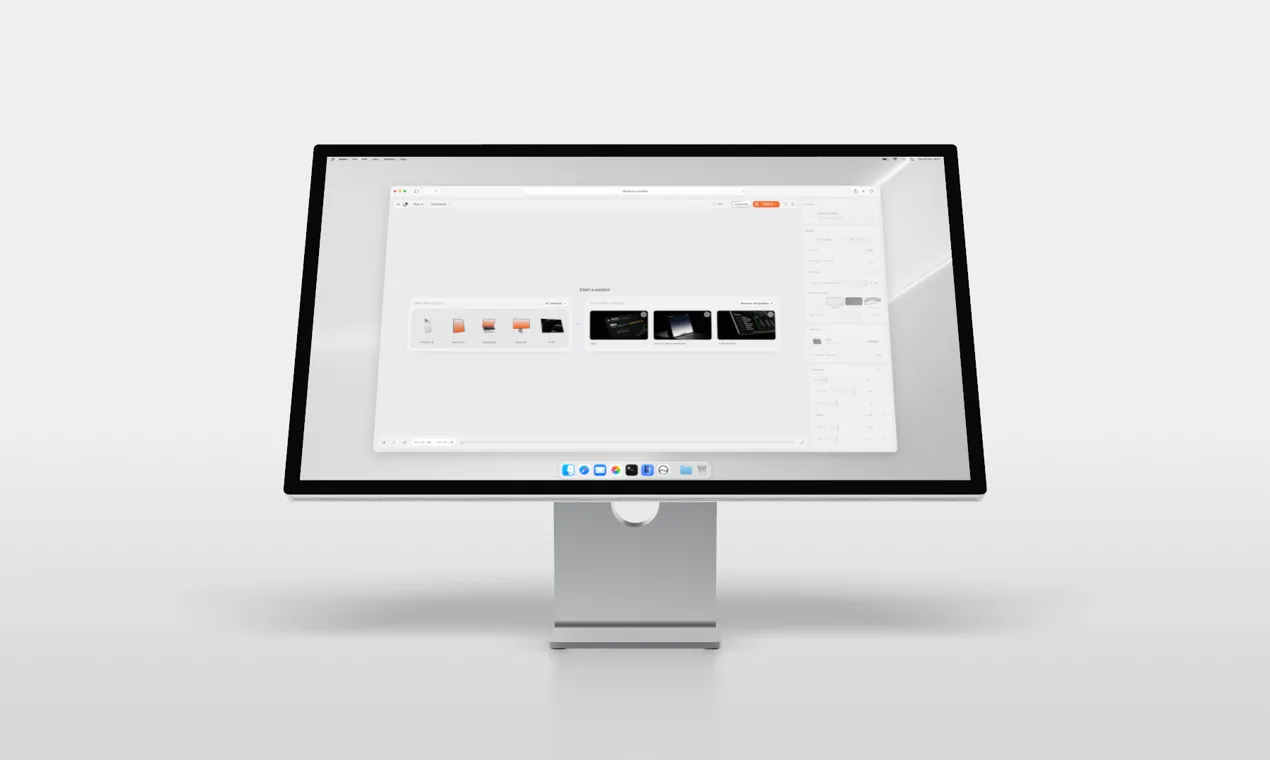
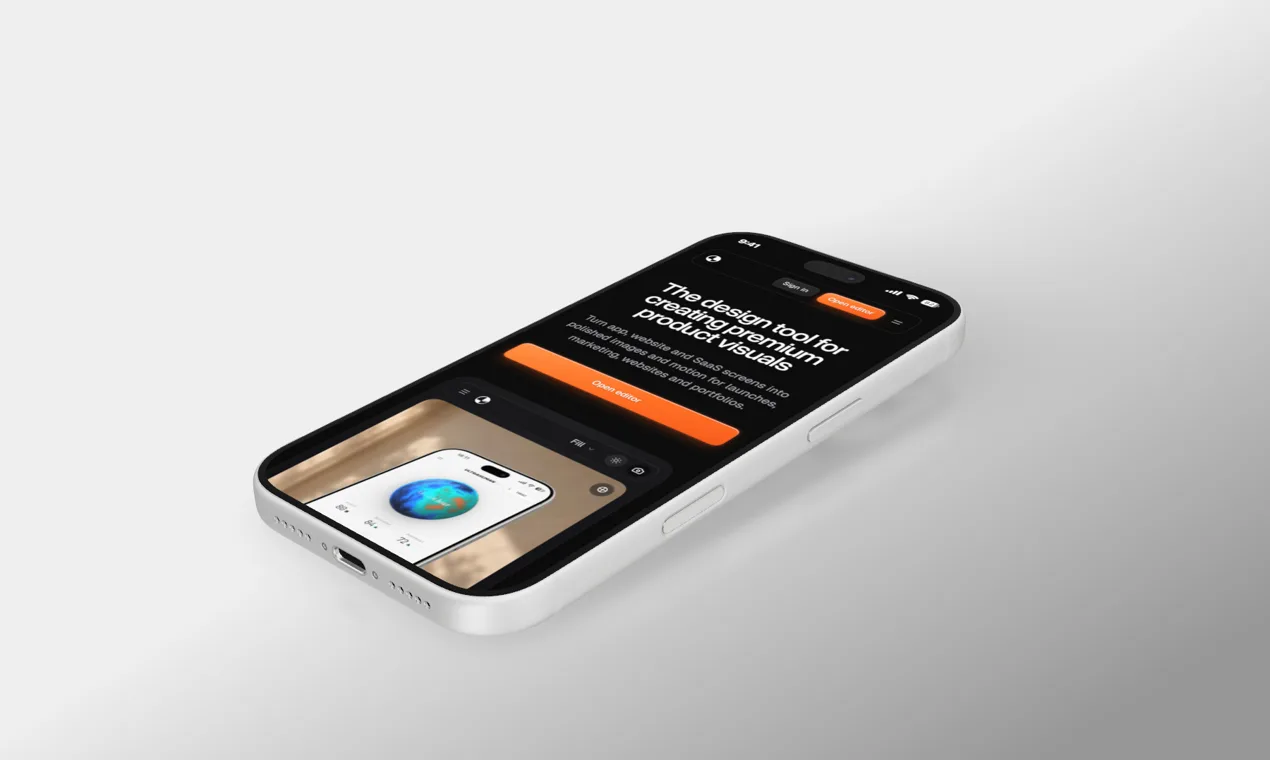
The first image (at the top of this post) opens on the home page in a browser, the second shows the editor itself on a large display, and the third shows the mobile site on a phone.
Making them in Ultramock
- Capture your site with the Ultramock Chrome extension, or upload screenshots of your app.
- Start from a template, or pick a device: a MacBook for a web app, an iPhone for a mobile app.
- Turn on the macOS menu bar, browser window and Dock on a Mac, or the status bar on a phone, so the screen reads as a real device.
- Export each image. On Pro, set a custom size of 1270 x 760; on the free plan, export at 1920 x 1080 and crop to 5:3 (free images carry a small Ultramock watermark, which Pro removes).
When we launched Ultramock on Product Hunt it finished #10 of the day. Whatever you launch, the gallery is the first look most people get at your product, so it is worth an hour to get right.
Make your product look premium
Your work deserves more than just a screenshot. No download, no account required. Check it out now.
Open editor